
views
Colouring and Applying Wet Grout

Estimate how much grout you will need for the project. Based on the area of the mosaic (length x width), the thickness of the tiles, and the gaps between the tiles, calculate how much grout you need. Set your mosaic on a piece of plastic or an old shower curtain to catch any wet grout that may fall as you’re spreading it, a trick that will be useful if you would like to reuse any dropped grout as you apply it to the project. Well-spaced tiles, with gaps under a quarter of an inch, then the entire mosaic (estimated to be 18”x 18”) can be covered with 2 pounds of grout. For gaps between mosaic tiles that are greater than an eighth of an inch, you might have to consider grouting it with a grout that contains sand. Sand helps to reinforce the grout and assist it in being resistant to cracking.
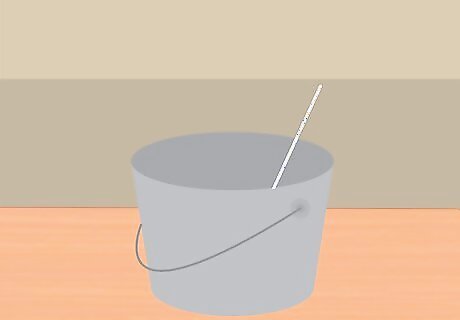
Set up an area to begin working on your grout. The area you choose to work in should ideally be outdoors to minimize the cleanup of wet grout and dust contamination. The mosaic project needs to be dried completely before you begin grouting. Gather a bucket of water, a mixing tray, a mixing stick, rubber gloves, a sponge, paper towel or old rags, and a dust mask. Use latex gloves for mosaic made up of smooth tiles. For tiles with sharper edges, wear rubber gloves which are less prone to tearing than latex gloves as you spread your grout around.
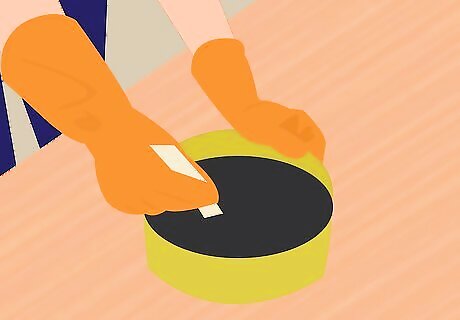
Mix the grout for the mosaic project. After estimating how much grout you need for the project, pour the grout into the mixing tray. Mix 2 pounds to begin with, and if the project needs more, you can always mix more later on as you continue to grout. The grout container should tell you how much water you need. If you are colouring your grout by dyeing it, there are mineral concrete dyes sold in building material stores in a limited range of colors, such as black, brown, gray, terracotta, etc. Alternatives to adding dye to your grout as you mix it include utilizing food coloring and acrylic paint. Add the dyes to your grout as you mix it.

Colour your grout for mosaic projects. Squeeze a small amount of acrylic paint into your bucket of grout. Mix the grout some more, until you’ve noticed the paint is absorbed evenly within the grout. Continue to add paint in equal amounts until the grout appears slightly darker than the shade you desire your grout to be. As the mixture dries, your grout colour will appear lighter. An alternate method of colouring grout would is using store-bought colour mix (dried grout colouring). Use two containers of colour mix (of the same colour) and add it to your grout. Mix the grout for two minutes, allow it to set for 10 minutes, and then mix it again for an additional minute.
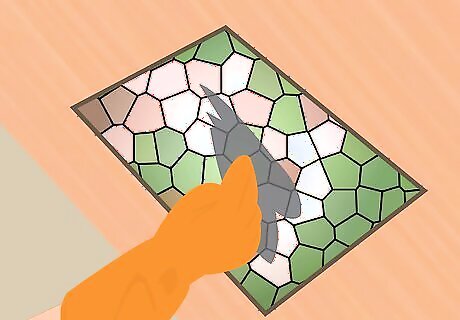
Apply the grout to your mosaic project. While wearing your protective gloves, take a large handful from the grout mixture and smear it onto the mosaic project. Cover the piece in different sections until all of the areas have been covered by the grout. Inspect the mosaic and make sure that the cracks between the mosaic tiles are completely filled by grout. Run your fingers along the cracks to push grout down and secure it in the spaces even further. As you inspect, there shouldn’t be any bubbles between the grout and wood.
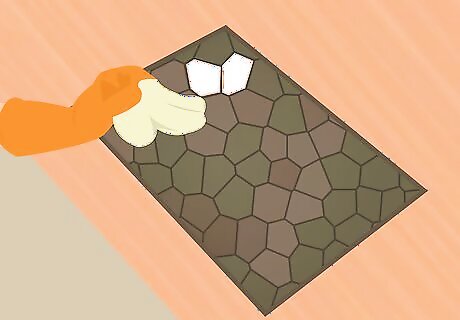
Clean the excess grout from your project. After smearing grout onto the mosaic piece, there will be a sheet of grout covering the entire surface of the mosaic. Wipe away excess grout with rags or a paper towel for smaller projects and a grout sponge for projects 1 square foot in area or larger. A thin grout of haze will be left over even after the excess grout has been cleaned off. Allow it to dry for a few minutes to make the thin layer easier to see and to clean. Give the mosaic project one last wipe using a clean paper towel or a dry rag. The last layer of excess grout should be lifted at this point. Wrap a rag or a paper towel around your finger and remove any grout that appears built up on any tiles on the surface area of the mosaic piece. Finished grout needs to be flush against the tiles themselves or slightly lower than the height of the tiles around it.
Colouring Dried Grout

Clean the grout from your mosaic tiles. Before you can begin dyeing your grout, you must pre-scrub the space in between tiles to ensure that the colour you apply will adhere to the grout itself and not any dirt that’s left there. This promotes staying power for colorants. Use a degreaser to clean your grout. Spray the degreaser along the grout lines. Allow it to sit for 10 minutes and then start scrubbing it with a toothbrush. Wipe the gunk removed between tiles up with a paper towel. Repeat as needed until the grout is as clean as you need it to be. When it’s done being cleaned, allow the grout to sit overnight in order to dry completely.
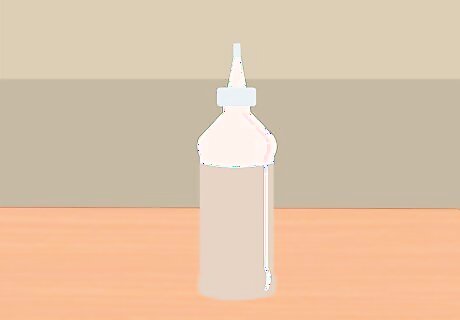
Pour your colorant into a squirt-tip bottle. Although it’s safe to apply colorant using the bottle it is sold in, using a bottle with a squirt-tip allows for an easier application. Squeeze the colorant with the bottle’s applicator tip positioned directly into the grout lines. Make a thin line in the middle of the tile lines and work in smaller areas of 6” at a time. Small areas are ideal because of how fast colorants tend to dry and applying the colorant a little at a time will ensure that you are able to distribute the colorant evenly before it dries. Use a cotton swab to work the colorant into the tile lines evenly. If any excess gets on the tile itself, clean it up quickly with a paper towel.
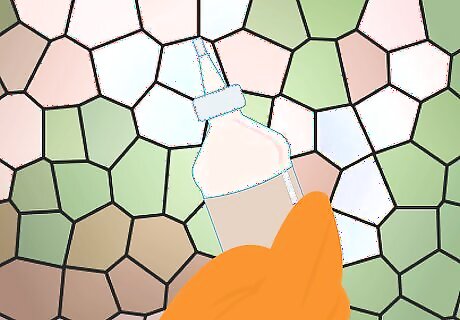
Apply a second coat after applying the first coat. Adding grout to the entire surface area will be a long job so be prepared to take a while completing it. After the first layer has been applied, applying a second layer might be necessary (especially when transitioning darker grout to a lighter grout). Allow two hours for each coat of grout to dry.
Selecting Grout Colour

Determine the right colour grout you’d like to use. Keep in mind that although colour can be provided by grout, it is best to allow the tile to provide the colour in mosaic designs. Most designers advise you to use grout that acts like a thin gray line in order to make tiles appear distinct without venturing on too boldly. White grout can appear very harsh as it will draw the eye to the gaps rather than the coloured tiles. However, it can be a complement to lighter tones so it is very good for showing off pale mosaics. And when used with strong bright colours, it will produce a Mediterranean feel. Grey grout enhances most coloured tesserae and has the most unifying effect of all the coloured grouts. Dark grout unifies darker coloured tesserae and segregates lighter ones.

Opt for a grout colour that blends with the mosaic tile. It’s impossible to match a grout colour to the exact colour of a tile due to the variations of shading most tiles possess. Opt for a grout colour that is in the same colour family or blends with the tile. This is a common selection for people who wish for the focus to be on the entire floor versus the individual tile.

Select a grout colour that contrasts the mosaic tile colours. Choosing a grout colour that contrasts your tile focuses your eye to see the tile as an individual instead of an entire picture, as you would with blending grout colours. This is great for people who want a black and white pattern or checkerboard effect on their floors. For example, gray grout should not be used with a gray tile. Use a red-brown terra cotta grout for gray tile instead. Avoid matching colours and gravitate towards contrasting colours.

Pick a grout colour that acts as an accent to the tile. Accent colours are used by people who want to compliment an accent colour they might be using in their overall design scheme. If you go with this option, understand that if you ever are to change your design theme later down on the road, you might have to change the grout colour you used initially as well.
Choosing the Right Grout

Decide between cement or epoxy based grout. Cement-based grout is the most commonly used form of grout, and is also the most cost-effective of grouts available for use. Epoxy is more expensive, more difficult to install, and harder to find, so it might not be worth the effort when making your decision. But to counter its cons, it has pros of being more durable and having greater resistance to chemical and water damage.
Add sand to your grout. Adding sand isn’t a crucial component to grout picks, but it is advised for tiles that have spaces in between them greater than 1/8 inch. It makes grout more resistant to shrinking and cracking which is a must for bigger tile space areas.

Include a sealing grout. For lighter coloured grout on floors, pick a grout colourant that includes a sealant. Sealing grout combats the high traffic and moisture kitchen and bathroom areas might receive and protect the grout for much longer. Stay away from “membrane-forming” sealers and invest in breathable “penetrating” sealers instead.

Choose between light shades and dark shades. Darker grouts can hide stains and dirt more easily than lighter shades, but are more likely to show staining and fading from harsh cleansers. Lighter grouts tend to show more dirt. Lean towards shades that are not super light but are not super dark either.


Comments
0 comment