views
Backing up to iCloud
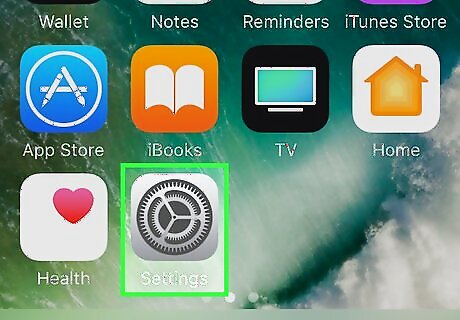
Open your iPhone's Settings iPhone Settings App Icon. You'll usually find the app on your home screen. Use this method if you want to start backing up your iPhone to iCloud rather than iTunes. If you're not already connected to a WiFi network, you should do so now. Backing up your iPhone to iTunes will use a lot of data.
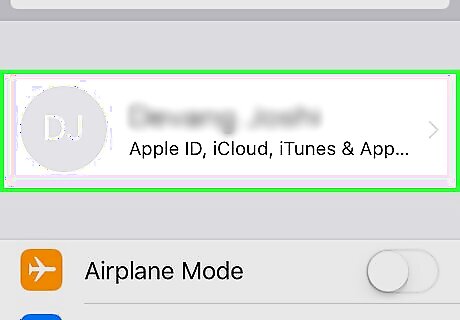
Tap your Apple ID. It's your name at the top of the screen.
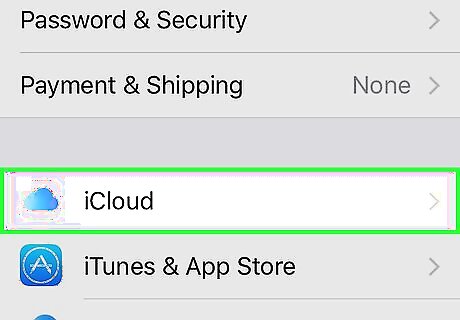
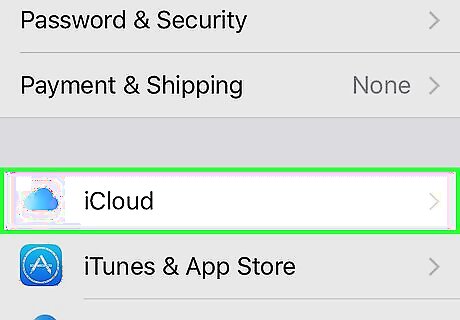
Tap iCloud. It's near the middle of the screen.
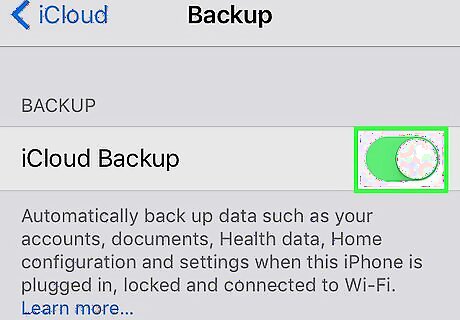
Slide the "iCloud Backup" switch to iPhone Switch On Icon On. This tells your iPhone to store your backups in the cloud. If you don't see this option, tap the back button to return to the Apple ID menu, scroll down and tap your iPhone at the bottom, then tap iCloud Backup near the top. You should find the switch there.
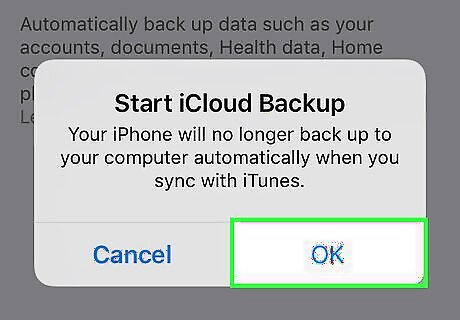
Tap OK to confirm. Once confirmed, the "Back Up Now" option will appear.
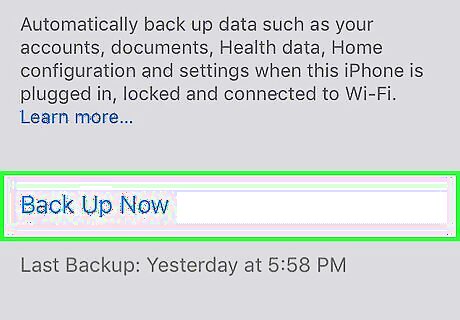
Tap Back Up Now. iPhone will now back up to your iCloud account.
Find and manage your backups. Once you've started backing up to iCloud, follow these steps to find and edit your backup preferences: Open the Settings app and tap your Apple ID. Tap iCloud. Tap Manage Storage. Tap Backups. Use the switches to decide what backs up to iCloud. If you want to delete the latest backup, tap Delete Backup at the bottom of the screen.
Backing up to iTunes
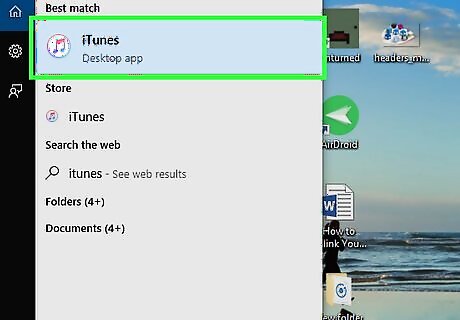
Open iTunes on your computer. It's the music note icon on the Dock (Mac) or in the Start menu (Windows). Use this method if you want to start backing up your iPhone to iTunes. If you're using a PC and haven't yet installed iTunes, you can download it for free from https://www.apple.com/itunes/download.
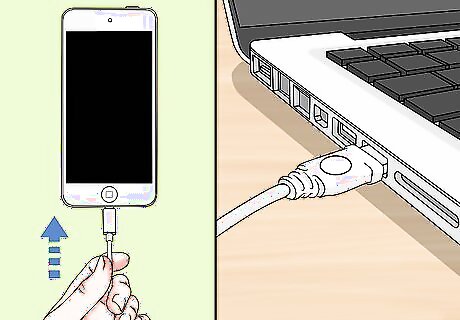
Connect the iPhone to the computer. Use the charging cable that came with your iPhone or one that's compatible. Once connected, a small iPhone button (called the "device button") will appear near the top of the app (just right of the drop-down menu). Your iPhone may prompt you to enter your passcode to trust the computer. Follow the on-screen instructions to do so.
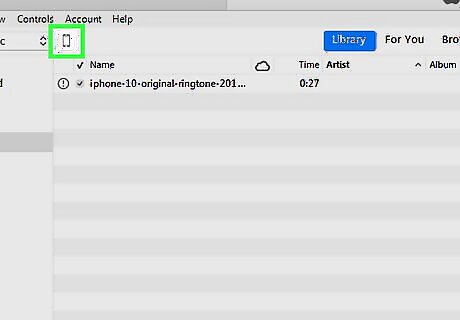
Click the device button. It's the button displaying a small iPhone near the top-left corner of iTunes. This displays a summary of your iPhone in the right panel.
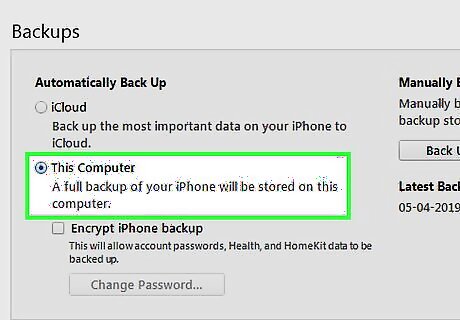
Select This Computer under "Automatically Back Up." It's in the right panel. This tells your iPhone to automatically back up your data to iTunes rather than iCloud.
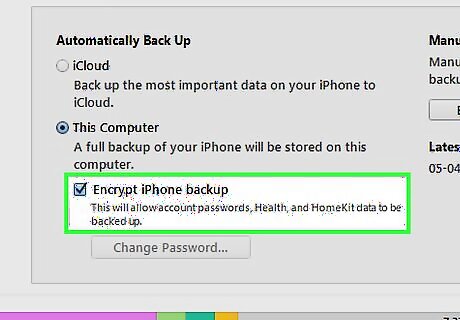
Check the box next to "Encrypt Device Backup" (optional). Do this if you want to encrypt your backups and/or want to back up your Health & Activity data. Follow the on-screen instructions to create a password.
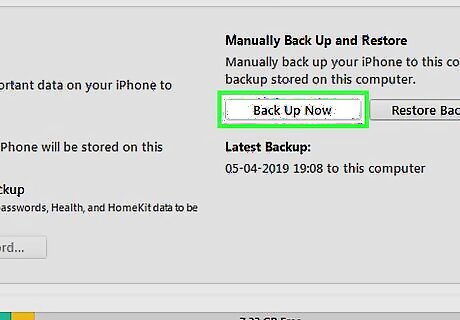
Click Backup Now. It's under the "Manually Back Up and Restore" header in the right panel. This backs up your iPhone to your computer. Once finished, you'll see today's date under "Latest Backups" near the bottom of the right panel.
Changing the iTunes Backup Location in Windows
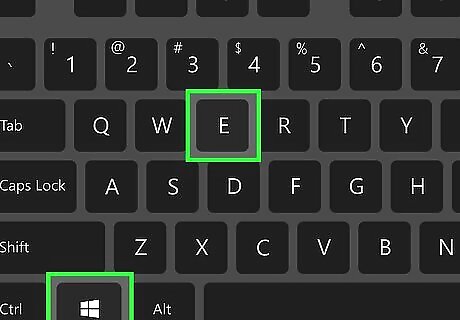
Press ⊞ Win+E to open the File Explorer. To change your iTunes backup location in Windows, you'll need to move around some files and create a link to "trick" iTunes. Use this method if you back up to iTunes and want to back up your iPhone to a different folder or hard drive.
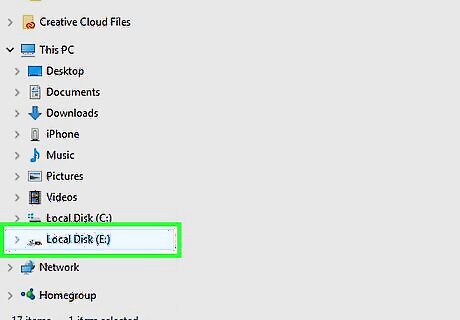
Open the drive on which you want to store your backups. You can do this by clicking the drive letter in the left panel of the File Explorer. If you want to back up your iPhone to an external hard drive, plug that drive into your PC now, then click its drive letter in the left panel of the File Explorer.
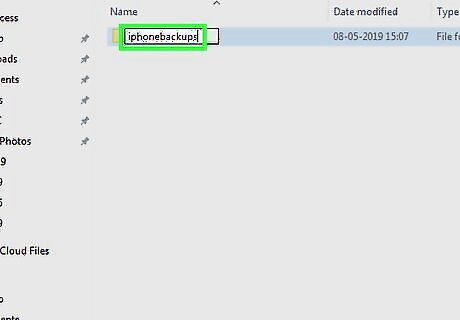
Create a new folder called iphonebackups. Here's how: Right-click a blank area of the file list in the right panel of the File Explorer. Select New Folder. Type iphonebackups and press ↵ Enter.
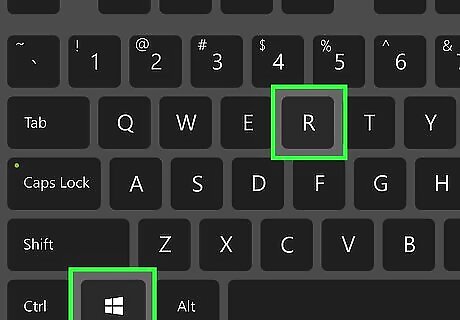
Press ⊞ Win+R to open the Run box. It will appear at the bottom-left corner of the screen.
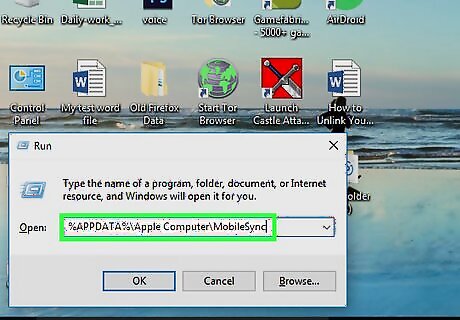
Type the path to the backup folder and click OK. The path is different depending on the version of iTunes you're using. If you're not sure which you installed, try both options—only one will open a new Explorer window containing another folder called "Backup." Here are the options: If you downloaded iTunes from Apple: %APPDATA%\Apple Computer\MobileSync If you installed iTunes from the Windows/Microsoft Store: C:\Users\USERNAME Apple\MobileSync (replace "USERNAME" with your Windows username).
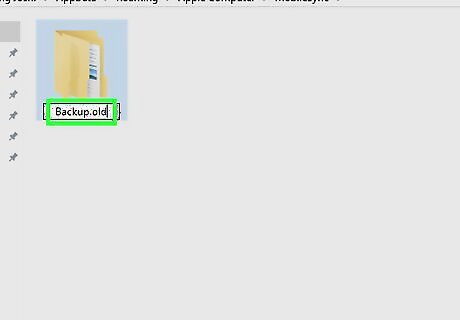
Rename the "Backup" folder Backup.old. To do this, right-click the Backup folder, type Backup.old, and then press ↵ Enter.
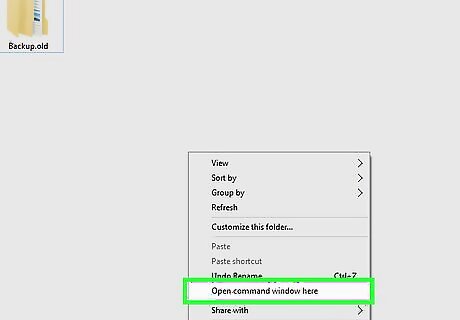
Open a command prompt to the current folder. The easiest way to do this is to follow these steps in order: Press and hold the ⇧ Shift key. Continue holding the key down as you right-click a blank area in the right panel of the File Explorer window (the one with your backup folder inside). Lift your finger from ⇧ Shift when the menu appears. Click Open command window here. If you don't see it, click Open PowerShell window here.

Create a link to the new backup location. Now you'll type a command that tells iTunes to save your backups to the new location. The commands you type here will create a folder called "Backup" in the location where your backups used to be stored: If you downloaded iTunes from Apple, type: mklink /J “%APPDATA%\Apple Computer\MobileSync\Backup” “D:\iphonebackups” and press ↵ Enter. Replace "D" with the letter of the drive on which you'll be storing your backups. If you installed the Microsoft/Windows store version, type mklink /J “C:\Users\[USERNAME]\Apple\MobileSync\Backup” “D:\iphonebackups” and press ↵ Enter. Replace "D" with the letter of the drive on which you'll be storing your backups.
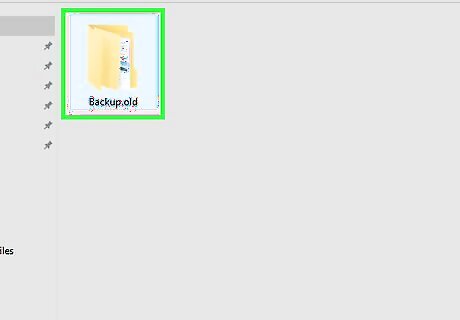
Go back to File Explorer window with "Backup.old" inside. You'll notice that there's a new folder in there called "Backup." This "folder" is the link you created to the new backup location.
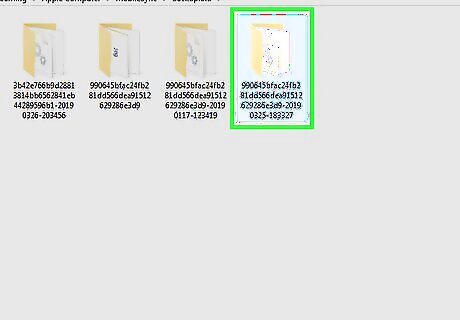
Copy your old backups to the new location. Here's how: Double-click the Backup.old folder. Select all folders inside. You can hold Control as you click to select multiple folders. Press Control+C to copy the highlighted folders. Click the back-arrow near the top-left corner of the window to return to the previous folder. Double-click the Backup folder to open it. Right-click a blank area of the right panel and select Paste. The backups will now copy to the new location. It may take several moments to copy the files. You can delete the "Backup.old" folder once the files are moved if you wish. To do so, just click the folder once to select it and press the Del key.
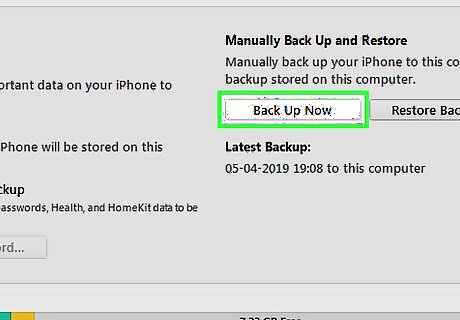
Back up your iPhone as normal. Next time you want to back up your iPhone to iTunes, connect the phone to your computer and run the backup. The backed-up contents of your iPhone will be saved to the new location.
Changing the iTunes Backup Location on a Mac
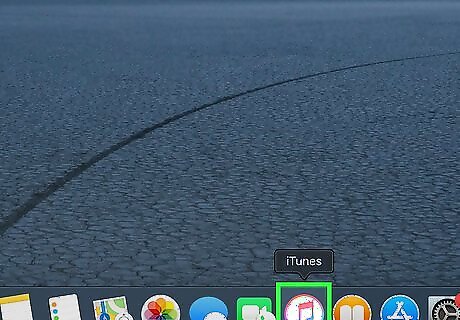
Open iTunes on your Mac. It's the music note icon on the Dock, which usually runs along the bottom of the screen. Use this method if you back up to iTunes and want to back up your iPhone to a different folder or hard drive.
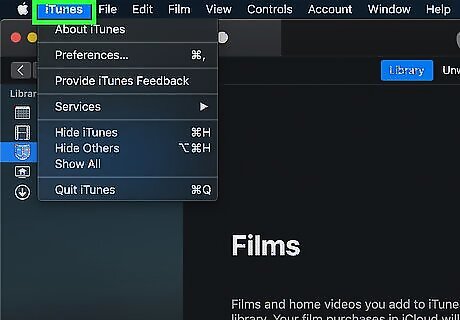
Click the iTunes menu. It's in the menu bar at the top of the screen.
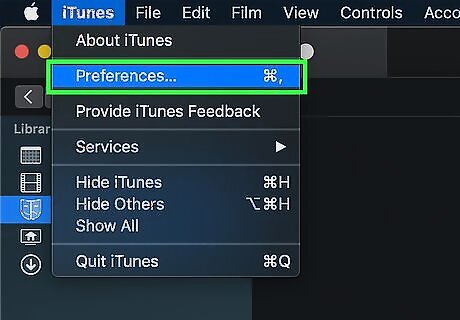
Click Preferences in the menu. This opens the Devices Preferences dialog box.
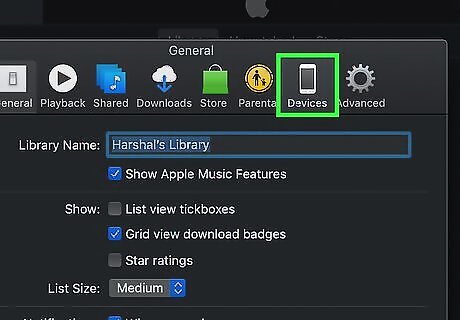
Click on Devices. A list of your backups will appear.
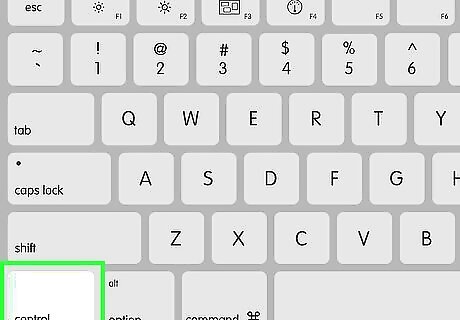
Press Control and click your iPhone backup. A menu will expand.
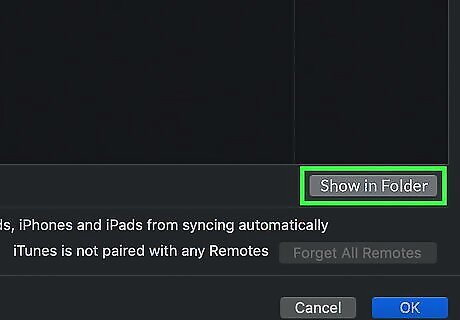
Click Show in Finder. A Finder window will open to the folder where your backups are currently saved. Your backup folder appears in this window. It's usually called "Backup" or has a long combination of letters and numbers (e.g., 4f39ssk39sd203d0299e25).
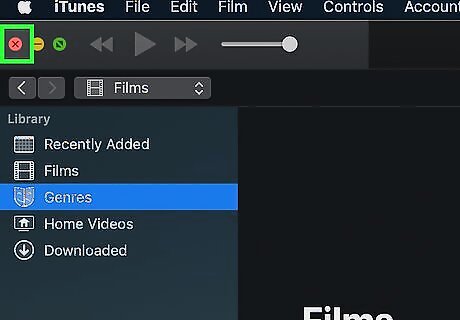
Close iTunes. You can do this by clicking the red circle at the top-left corner of iTunes.
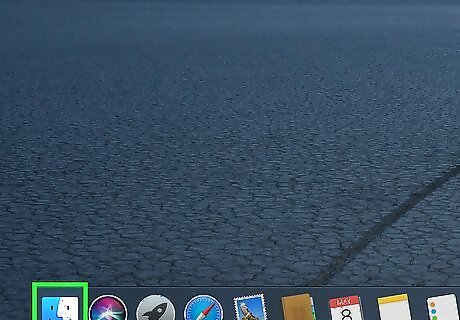
Open a Finder window to the new backup location. For example, if you want to change your backup location to an external hard drive, connect the drive to your Mac, double-click its icon on your desktop. If you're choosing a different folder on an internal hard drive, open a new Finder window to that folder now.
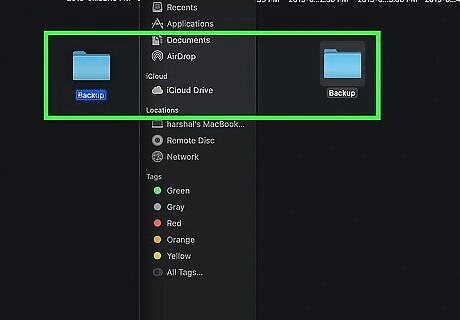
Drag the current backup folder to the new location. This is the folder called "Backup" or that series of long numbers. Simply drag it from its current window to the new one.
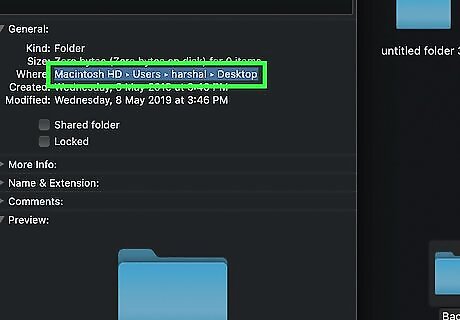
Enter your administrator password to confirm. This will copy the folder to the new location.
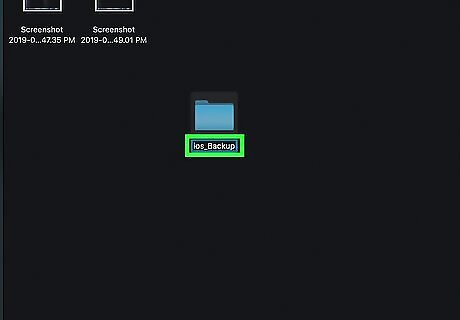
Rename the new backup folder ios_backup. This is the folder you moved to a new location. To rename, right-click the folder, and select Rename. Type ios_backup and press ⏎ Return to save. Enter your administrator password if prompted to do so.
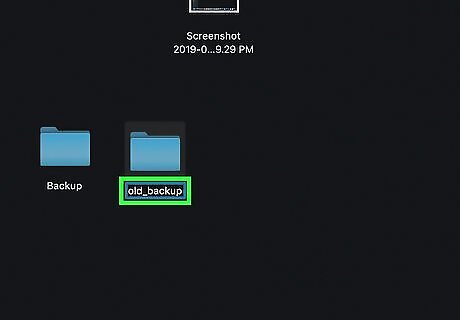
Rename the old backup folder old_backup. This is the folder that's still called "Backup" or a series of numbers.
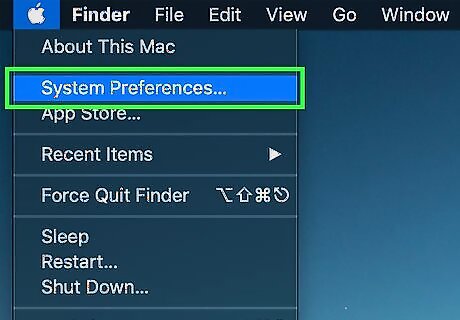
Change your Terminal security settings. You'll have to give the Terminal app permission to make changes to your Mac before you continue. Here's how to do so: Click the Mac Apple menu and select System Preferences. Click Security & Privacy. Click Privacy. Click Click the lock to make changes (if you see it), enter your admin password, and then select Unlock. Select Full Disk Access in the left panel. Click the + button below the app list on the right. Type terminal into the search bar. Highlight Terminal in the results and click Open. You can now make the necessary changes.
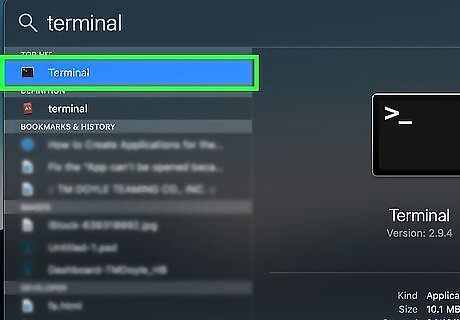
Open the Terminal app. A quick way to do this is to click the magnifying glass in the menu bar at the top-right corner of the screen, type terminal into the search bar, then click Terminal in the results.
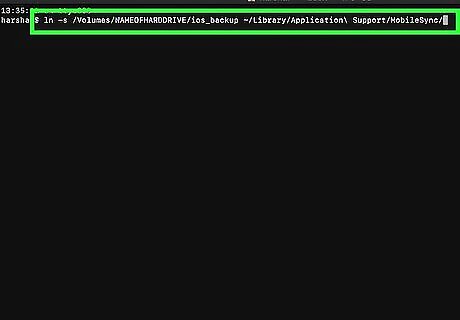
Create a link to the new backup location. Now you'll type a command that tells iTunes to save your backups to the new location. Follow these steps in order, but replace NAMEOFHARDDRIVE with the name of the drive to which you'll be backing up your iPhone: Type ln -s /Volumes/NAMEOFHARDDRIVE/ios_backup ~/Library/Application\ Support/MobileSync/ at the prompt. Press ⏎ Return. This creates a folder link in the current iTunes backup folder called "ios_backup." If you double-click that folder, it will open to your iPhone backups. You can delete the old backup folder ("old_backup") if you wish.
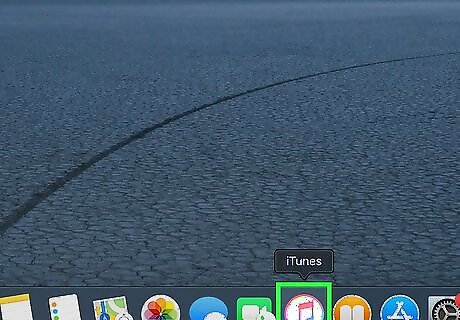
Prevent your iPhone from backing up automatically (optional). You only need to do this if you're backing your iPhone up to an external hard drive that won't always be connected to your Mac. Here's how to do it: Open iTunes. Click the iTunes menu and select Preferences. Click Devices. Check the box next to "Prevent iPods, iPhones, and iPads from syncing automatically." Click OK. Next time you want to back up your iPhone to iTunes, connect the phone to your computer and run the backup manually.





Comments
0 comment