views
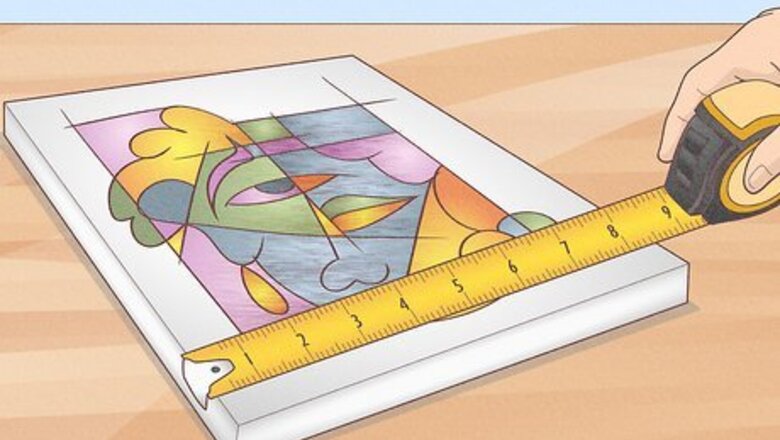
- Measure and record your canvas’ width, height, and depth, then purchase a fitting frame that contrasts your canvas, but doesn’t distract from it.
- Secure your canvas to a pre-made frame by screwing offset clips into the frame or by clipping screwless clips to the canvas’ stretcher bars.
- Construct your own floating frame with nails, wood glue, and wood molding sticks—4 sticks half as wide as the depth of your canvas, and 4 that are the same width.
- Screw the half-width molding sticks to the outer edges of the canvas, then glue the larger sticks to the half-width sticks to create your own floating frame.
Installing a Store-Bought Frame
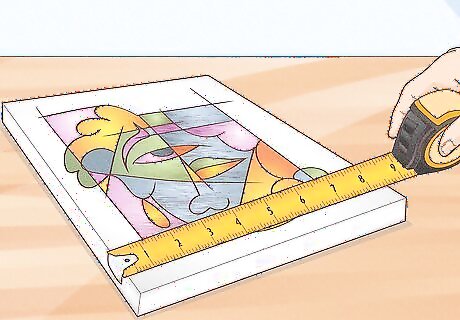
Measure the canvas’ height, width, and depth with a tape measure. Width is especially important here since, unlike photographs or flat artworks, you need to account for the canvas’ thickness, as well. Measure and record to the smallest unit possible for the most accurately fittest frame. Double check the measurements to make sure they are exact.
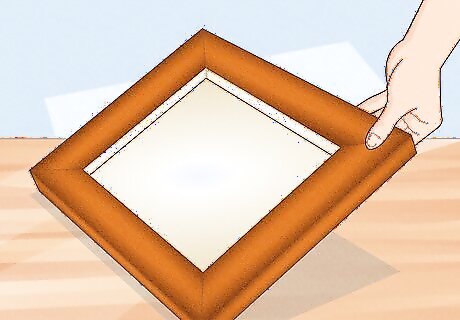
Buy a canvas frame from a craft store or online. Find a frame that’s the same length, width, and depth of your canvas. Shopping in-person lets you see the frame yourself before buying (a bit like trying on clothes), but you can also shop online at websites like Framed & Matted or Framebridge. Many craft or hardware stores will carry a range of standard sizes that correspond to common canvas sizes, but you may need to order a custom frame for irregular canvases. Consult a store clerk in this case. For complex or busy artwork, select a simple canvas frame. Conversely, select a slightly more ornate frame for simpler artwork. You want the art and the frame to balance each other! Additionally, aim for a bit of color contrast between the art and the frame, like bright frames for dark pieces, and dark frames for bright pieces. Avoid frames that have colors similar to the art itself. Consider the style of the room where you are going to hang the artwork. For a contemporary room you may want to choose a different frame than for a French provincial room. Also consider what colors are used in the room, whether there is a lot of wood, and what kind of wood.
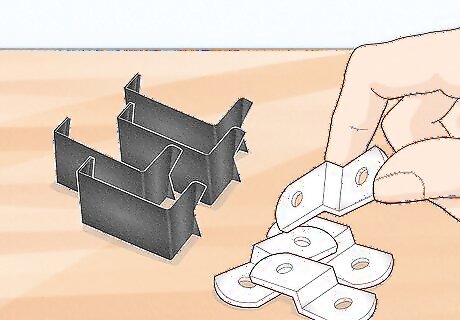
Use either screwless canvas clips or offset clips. Clips usually come in packs of 4 and can easily be found in a store or online. Measure the width of the canvas’ own frame (the back portion around which the stretched canvas wraps) to find which size clip you need. A pack of 4 is typically enough to frame a canvas. Screwless canvas clips are best for canvases that rest more or less flush with the frame. Canvas clips that do require screws are called “offset clips” and are best for canvases that don’t sit flush with the frame. They come in 3 common sizes: 0.125 in (0.32 cm), 0.25 in (0.64 cm), and 0.5 in (1.3 cm). If the canvas is 24 by 36 inches (61 by 91.4 cm) or larger, buy 8 canvas clips.
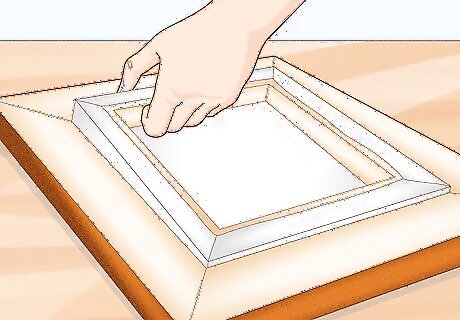
Lay the canvas face down into the lip of the frame. Set the frame face down on a flat surface, and place the canvas inside with the decorated side down. Handle the canvas carefully and avoid scratching the decorated side when setting it into the frame. Rest the canvas on the frame’s inner lip. Keep in mind that every frame will be different; some fit very tightly, and others are looser. Both are fine; your canvas clips will secure the art.
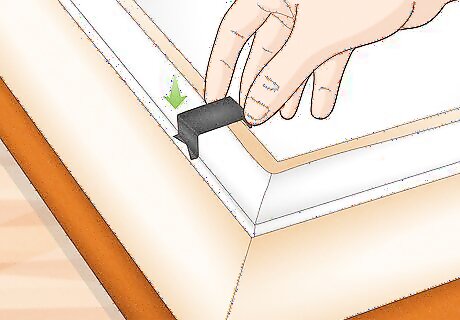
Attach screwless clips to the stretcher bars on the back of the canvas. To attach non-screw clips, slide the pointed end of the clip in between the frame and the canvas's edge. Then, pull the clip over the stretcher bar. Push down on the clip hard enough to ensure it stays in place, but be careful not to damage the art. Space the clips evenly around the canvas, with an equal number of clips on each side.
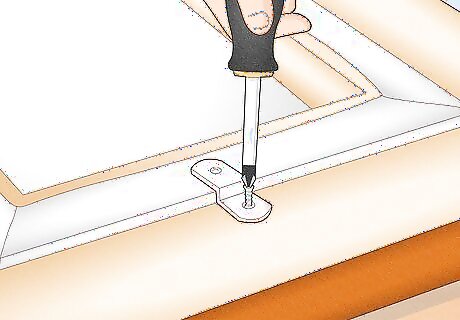
Screw offset clips to the stretcher bars and frame as an alternative. Position the clips at the center of each of the four sides (or evenly spaced on each side, if you’re using more than 4 clips). Use a pencil to mark their positions, then drill a pilot hole into each mark. Set the clips over the holes so that that one half touches the canvas. Finally, screw the clips into the frame, securing the art.
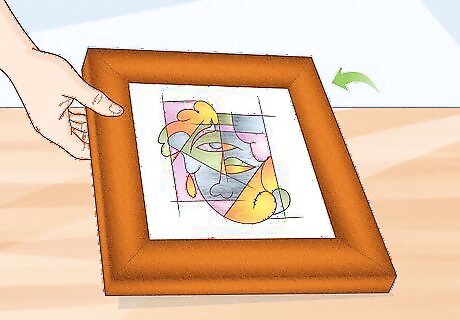
Turn the painting over carefully. Now, check that the frame fits snugly around the canvas. If the canvas slides out, you probably need to push or screw the canvas clips down more tightly. Check to make sure you’re happy with the frame and artwork combo, and that the frame complements the art piece, rather than distracting from it.
Making Your Own Frame
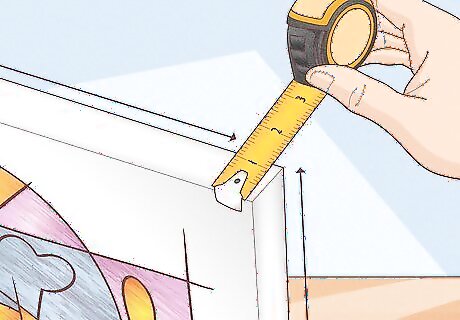
Measure your canvas’ height, width, and depth. Use a tape measure to determine all 3 dimensions of the canvas, and measure to the smallest possible increment. Record your measurements on a pad of paper, and keep them handy through the next steps.
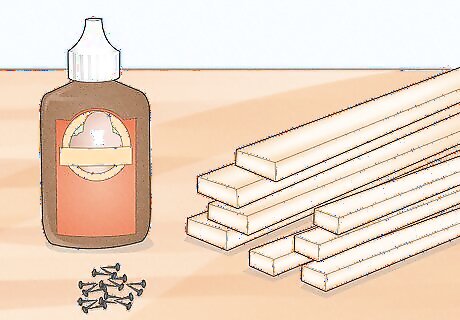
Purchase wood molding sticks, small nails, wood glue, and C-clamps. First, select a length of molding that is half as wide as the measurement of your canvas’ depth. Then, select a length that is equally as wide as the canvas depth (or as close as you can get). Make sure both strips are about 6 inches (15 cm) longer than the perimeter of your canvas. Take your canvas to the hardware store and ask a customer service representative to help you find wood strips that will suit your needs.
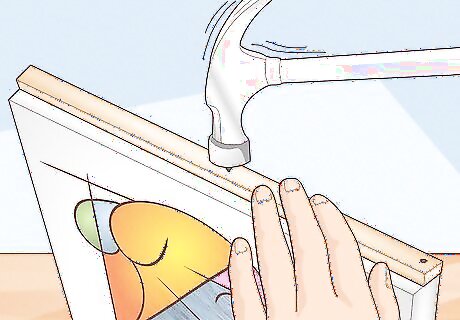
Cut and nail the small strips to each side of the canvas itself. With a hacksaw, cut your 4 half-width strips so that you have one strip that corresponds in length to each side of the canvas. Then, use a hammer and small nails to nail the strips to the sides of the canvas, positioning the strips flush with the back edge. Measure the thickness of the strips themselves, and add this to the measurement when you cut the strips, so that each strip is a little longer than the sides of the canvas. This will ensure the strips completely surround the canvas. Hammer each nail about 6 inches (15 cm) apart.

Cut and glue the larger strips to the half-width strips. Use a hacksaw to cut 4 lengths of full-width wood strips to completely surround the smaller strips. Then, apply a strip of wood glue to the outside of the smaller strips that you nailed to the canvas, and clamp each full-width strip to the corresponding smaller strip. Let the glue dry for about an hour, then remove the clamps. As with the half-width strips, add the thickness of strip itself to the length measurement of the respective side of the canvas, to allow the frame to fully encompass the canvas. For example, the strip affixed to the top of the canvas will measure equal to the length of the top of the canvas, plus the thickness of the strip.
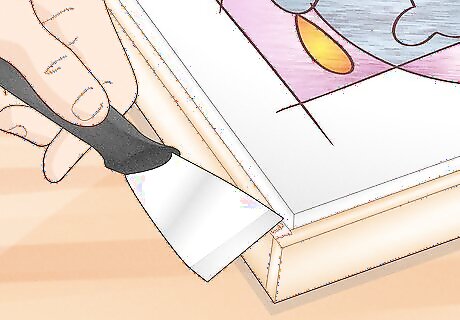
Fill in the gaps with wood putty, and sand it all down. With a putty knife, apply a small amount of wood putty to the seams of the wood strips. Allow the wood putty to dry for a few hours (or the amount of time indicated on the packaging). Then, use a coarse-grit sandpaper (about 80-grit) to sand the wood putty down for a cleaner finish. Your new frame will have a gap between the canvas and the frame itself. This is a style of frame called a “floating frame,” and is commonly used to display canvas artworks.
Finishing and Hanging Your Frame
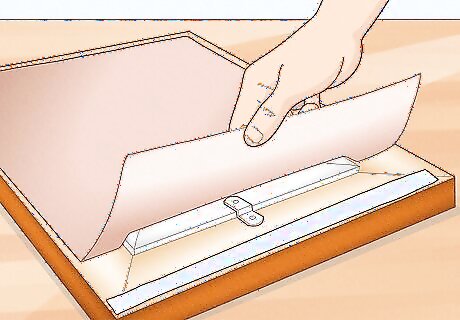
Cut and attach a dust cover to the back of the frame. Apply double sided tape to the back sides of the frame, about 0.125 inches (3.2 mm) from the outer edge of the frame. Then, roll a sheet of kraft paper over the backside of the frame, pressing it into the double-sided tape. Finally, use a pair of scissors or a utility knife to cut away excess kraft paper, so that no paper shows when viewing the frame from the front. A dust cover is essentially a piece of paper, usually strong kraft paper, taped to the back of the canvas to protect it from dust and other particles.
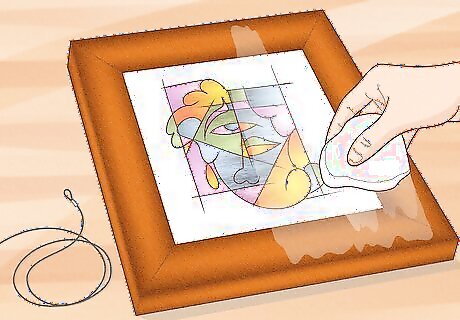
Clean your frame and attach a wire hanger. Lay your frame on a flat surface, facing up. Lightly spray ammonia-free glass cleaner onto a microfiber cloth, and rub the cloth gently on the glass and along the edges of the frame to remove fingerprints and dust. Then, install a wire frame hanger if your frame doesn’t already have one. To install a wire hanger, screw D-ring hanger clips to the back edges of the frame, about ⅓ of the way down from the top. Then, loop a length of hanging wire through each ring and twist the wire around itself to secure it. Your wire should have about 1–2 inches (2.5–5.1 cm) of slack.

Choose a well-lit, easily visible wall to hang your canvas. Consider who will see the art: if you want the picture to get more attention, hang it in a busy area like a doorway or the middle of a room. If it’s a more low-key or personal piece, place it in a less busy area like a hallway or a bedroom. Large, statement pieces tend to go well in common rooms like living rooms or dining rooms. Most importantly, hang it where you can enjoy it! Hang sensitive mediums like watercolors out of direct sunlight. Hardier mediums like oil paints can stand a little sun. If you’re hanging multiple frames, think about how you want to arrange the pieces before you commit to putting any nails in the wall. Make light, erasable pencil marks to plot their possible positions. For gallery-like displays, avoid meticulously lining up the frames on the wall. A little flow and unevenness can make a space feel more organic.
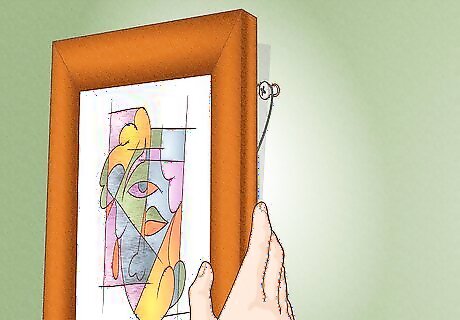
Hang the painting on a nail or a wall anchor. Drive a 2 in (5.1 cm) nail at 45-degree angle and leave about 0.25–.5 in (0.64–1.27 cm) sticking out, to allow for easy hanging. Small or lightweight paintings can be hung on any area of the wall, with or without the presence of a stud. Lift the frame, and place the hanger wire on the wall over the nail. Voila! Your canvas is beautifully framed and proudly displayed. To support heavy frames, find a wall stud to secure your nail, or use a wall anchor to hang a painting on drywall. If you’re unsure or undecided how high to hang your frame, shoot for eye-level. This is a standard height for galleries, and allows you to easily view the art.



Comments
0 comment