views
- You can easily install Wine through the Software Center, but it won't be the latest version. For the latest version, install directly from the Wine developers.
- Once you've installed Wine, you can download a Windows application from the web and double-click the .exe file to install.
- Not all Windows software works flawlessly on Wine, but lots of popular apps and games do.
Installing Wine
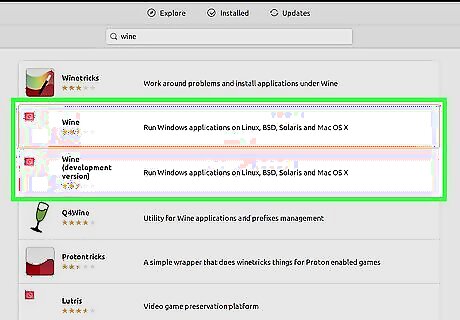
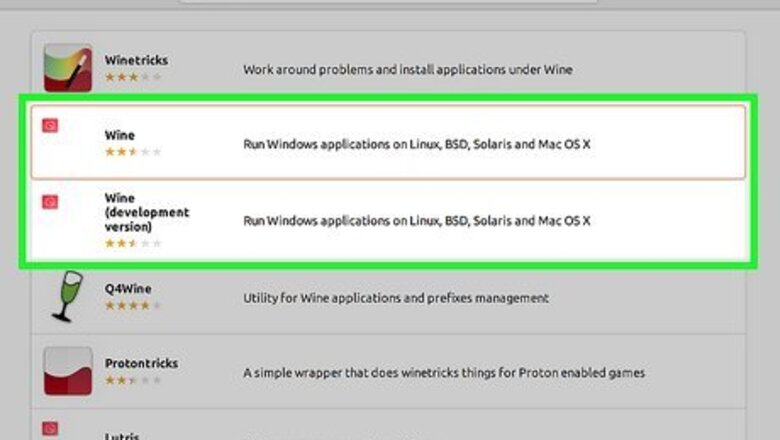
Decide how you'll install Wine. Ubuntu recommends that you install the Ubuntu-specific version of Wine straight from their repositories in the Software Center. But, the developers of Wine recommend that you install the latest version of Wine from their repositories (WineHQ). So, which should you choose? The Software Center version is always going to be older than the version from WineHQ. However, if you want a simpler install process that doesn't require typing any commands, you can quickly install a stable version of Wine through the Software Center. With this installation method, Wine will only update if there's a newer version available the next time you update Ubuntu itself. You won't be able to update Wine separately. To install the Ubuntu package, just open Software Center, type wine, and click Install. Then, skip down to step 8 to perform the final configuration steps. If you want the latest Wine release with frequent updates, you'll want to install Wine from WineHQ. It's not hard to install, but there are a few more steps than using Software Center. We'll walk you through them!
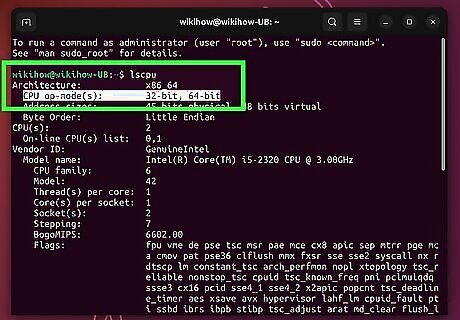
Determine your system architecture. If you want the latest version of Wine from WineHQ, your first task is to find out if your system is 32-bit or 64-bit. If your system doesn't support 32-bit programs, there will be an extra installation step. An easy way to check is to open a Terminal window and run the command lscpu. Once you run the command, check the value of "CPU op-mode." You'll either see 32-bit, 64-bit, or both.
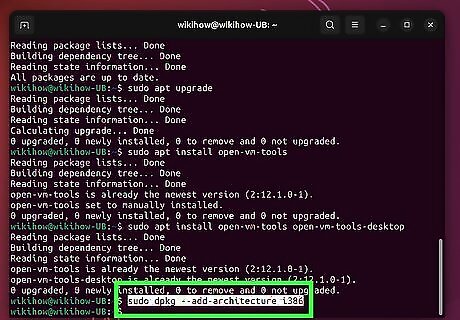
Enable 32-bit architecture if your system is 64-bit. If the value of "CPU op-mode" does not include 32-bit, run this command to enable 32-bit architecture: sudo dpkg --add-architecture i386. If CPU op-mode displayed both 64-bit and 32-bit, there's no need to run this command.
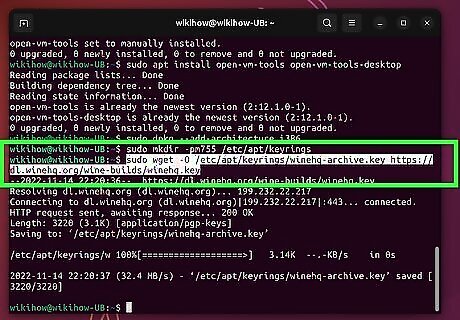
Download and add the repository key. Now you'll need to run two commands that will allow you to easily install Wine: First, run sudo mkdir -pm755 /etc/apt/keyrings to create a directory for the repository key. Then, run sudo wget -O /etc/apt/keyrings/winehq-archive.key https://dl.winehq.org/wine-builds/winehq.key to add the repository key.
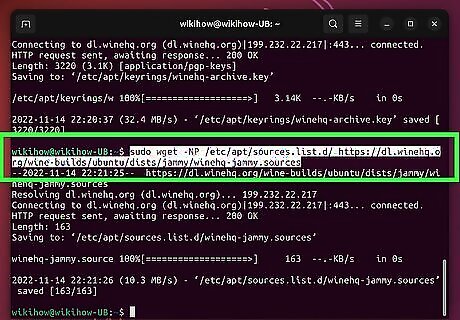
Download Wine for your version of Ubuntu. The command you'll need to run will be a little different depending on your version of Ubuntu: Ubuntu 22.04 (Jammy Jellyfish): sudo wget -NP /etc/apt/sources.list.d/ https://dl.winehq.org/wine-builds/ubuntu/dists/jammy/winehq-jammy.sources If there is no stable version available for Jammy when you run this command, you can install the development version instead. To do so, use sudo apt install --install-recommends winehq-devel. Ubuntu 20.04 (Focal Fossa): sudo wget -NP /etc/apt/sources.list.d/ https://dl.winehq.org/wine-builds/ubuntu/dists/focal/winehq-focal.sources Ubuntu 18.04 (Bionic Beaver): sudo wget -NP /etc/apt/sources.list.d/ https://dl.winehq.org/wine-builds/ubuntu/dists/bionic/winehq-bionic.sources. Ubuntu 16.04 (Xenial Xerus): sudo wget -NP /etc/apt/sources.list.d/ https://dl.winehq.org/wine-builds/ubuntu/dists/xenial/winehq-bionic.sources Ubuntu 14.04 (Trusty Tahr): sudo wget -NP /etc/apt/sources.list.d/ https://dl.winehq.org/wine-builds/ubuntu/dists/trusty/winehq-bionic.sources
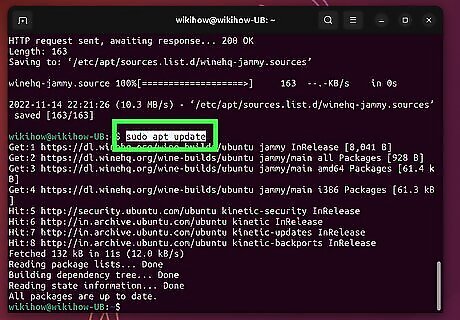
Run sudo apt update to update the package database. Once you do this, you'll be ready to install Wine.
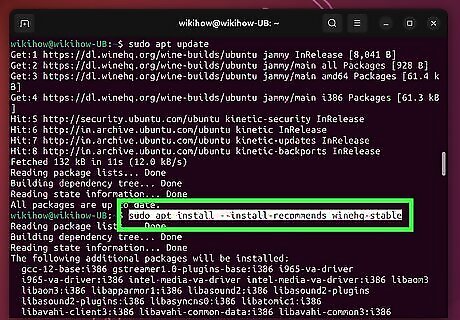
Run sudo apt install --install-recommends winehq-stable to install Wine. This installs Wine from the repository you've added. The Wine files are installed in /opt/wine-(branch).
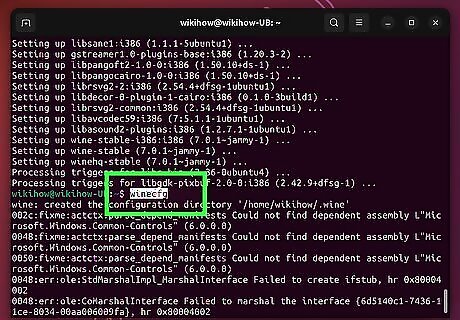
Type winecfg and press ↵ Enter to open the Wine Configuration panel. No matter how you've installed Wine, you'll want to run this command before you start installing Windows programs. This creates a directory called .wine in your home directory that contains a virtual Windows-style C drive (called drive_c) with the typical Windows file structure, including folders like Program Files, Program Files (x86), Windows, and ProgramData. It also opens a panel that lets you change your Wine preferences. On the Applications tab, you'll see that Wine can mimic different Windows versions for each application. The default Windows version is Windows 7, but you'll probably want to select a newer version of Windows (such as Windows 10). On the Desktop Integration tab, you can choose to add Windows-style theme and link Windows-like folder structure (e.g., Desktop, My Documents) to directories in Ubuntu. You can customize the behavior of windows and mouse movements on the Graphics tab and sound on the Audio tab. Once you're finished making configuration changes, click OK to save.
Installing Windows Apps
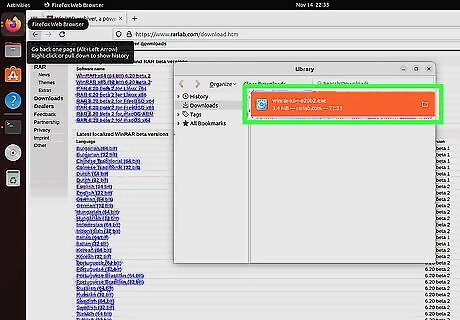
Download the installer for any Windows app you want to run. Now that Wine is installed, you can easily run any Windows installer that ends with the .exe extension. While lots of popular Windows software titles will work great in Wine, you might run into problems with some apps. Check out the Wine Application Database to see which apps will run flawlessly, with minor flaws, or not at all on Ubuntu.
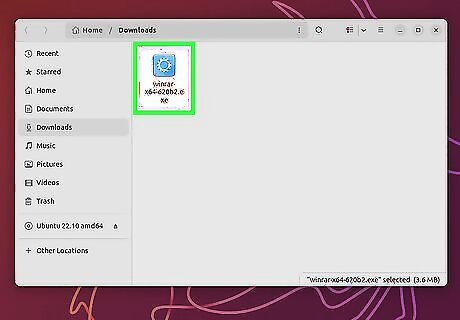
Double-click the installer. Wine should automatically detect the .exe and start the Windows program. If the program doesn't open in Wine, right-click its icon and select Run with > Wine. If the installer doesn't launch, you can also start it from the command line. In a Terminal window, use cd to enter the directory to which you saved the downloaded installer, then use wine filename.exe to launch it.
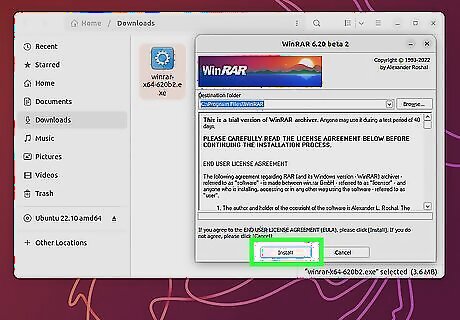
Follow the on-screen instructions in the installer. The installation will look like a typical Windows installer. Many installers allow you to choose a location for installing the file. The location will be in your virtual C drive, which is actually located in the folder called .wine/drive_c in your home directory. If prompted to choose an installation location, choose C:\Program Files. You can configure any apps you install in the winecfg tool. Just run wincfg at the prompt, click Add Application on the Applications tab, and select the newly installed app. Then, with the new app selected, go through the tabs and make modifications specifically for that app.
Running Windows Apps
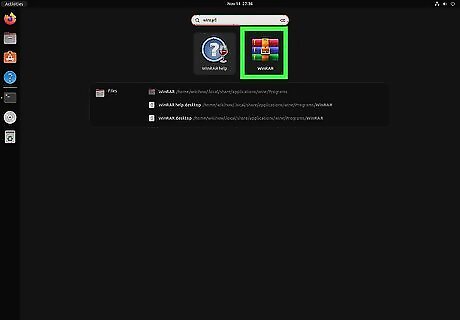
Run an app from the desktop or your file manager. If the installer you ran prompted you to add an icon to your desktop, you'll now see a shortcut to that app that you can easily double-click to launch with Wine. If not, you can run it from your file manager. First, open Files and make sure hidden files are visible. If you don't see the .wine folder, press Ctrl + H to toggle showing hidden files. Double-click the .wine folder and then navigate to the location to which you installed the Windows program. Right-click the .exe file and choose Open with > Wine.
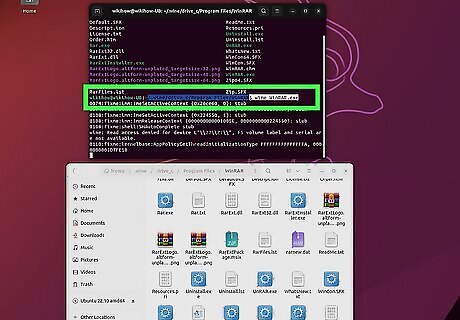
Run programs from the command line. If you're having trouble running programs from the GUI or just want to use the command line, start by navigating to the directory to which you installed the program using the cd command. You'll need to surround the path with single quotes. For example, if you installed it in the virtual C:\Program Files\Game\Risk directory, you'd use cd '.wine/drive_c/Program Files/Games/Risk'. You can start Windows programs from the full path if you'd prefer, but you'll need to start them with wine start. For example, wine start 'C:\Program Files\Game\Risk.exe' Start the program using wine appname.exe. For example, if the Windows application file is called Risk.exe, you'd use wine Risk.exe to open it from the current directory.
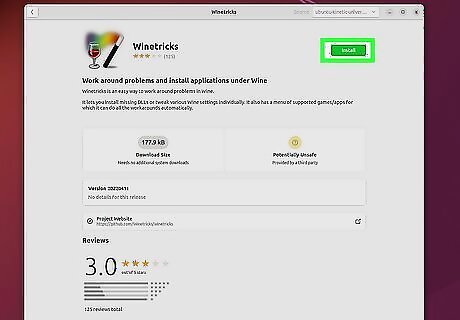
Install Winetricks if you're having trouble with missing DLLs and libraries. If you're missing certain libraries required to install programs, you might be able to fix the issue with this easy-to-install tool. For example, if you're trying to run Adobe programs and seeing errors about Adobe Type Manager or "atmlib," Winetricks can fetch the DLLs you'll need to run the program. You can install Winetricks from Ubuntu Software or using sudo apt-get install winetricks. However, if you want to get help from the Wine team, they may not provide assistance if you're using Winetricks. Once Winetricks is installed, run it from the prompt using the command winetricks. You can then use the tool to install working packages of popular apps and libraries.


Comments
0 comment