
- If you cannot access a physical storage drive, make sure it is formatted for the appropriate file system. Windows uses NTFS, for example, which is not supported by Mac.
- Visit the Properties tab for a protected file on Windows and uncheck the Read Only box to allow edit access again.
- Run First Aid on a removable storage item on a Mac to allow your system to automatically disable write protection (if applicable).
Basic Fixes
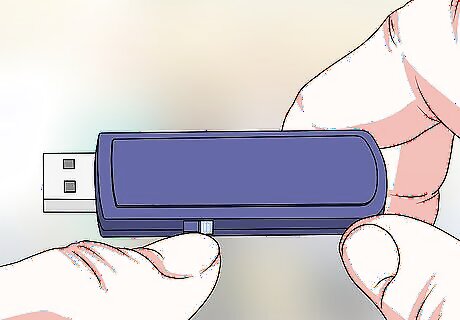
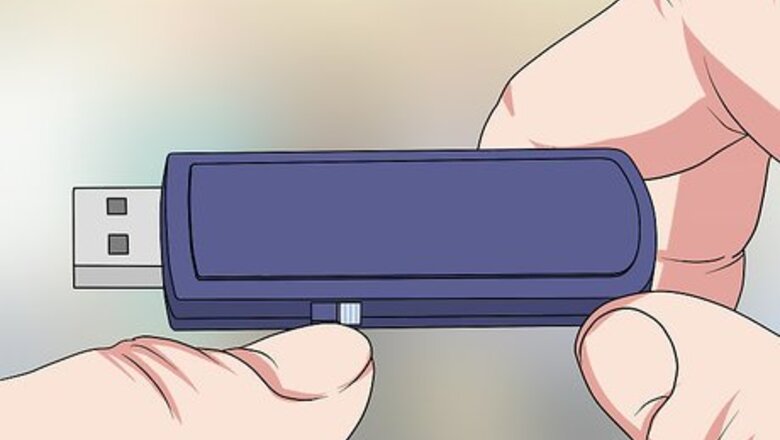
Check the storage item for a physical lock. Most SD cards and some USB flash drives have small levers or switches on the casing that control whether the item is writable or read-only, so look for such a lever or switch and move it if necessary. Especially in the case of SD cards, physical locks often prove to be impossible forms of write protection until they're disabled. If your lock mechanism has been broken, you might be able to fix it.
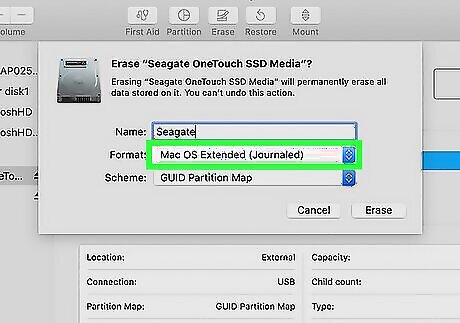
Make sure that you're using the right file system. Windows and Mac computers use different file systems by default (Windows uses NTFS and is unsupported by Mac), and many flash drives, external hard drives, and SD cards are pre-formatted for Windows use. If you're having trouble using your drive on a Mac computer after using it on a Windows computer, you can reformat the drive by doing the following:Tip: Make sure to back up the drive's contents to a Windows computer, as formatting deletes the drive's contents. Plug the drive into your Mac. Change the drive's format to the "Mac OS Extended (Journaled)" format.
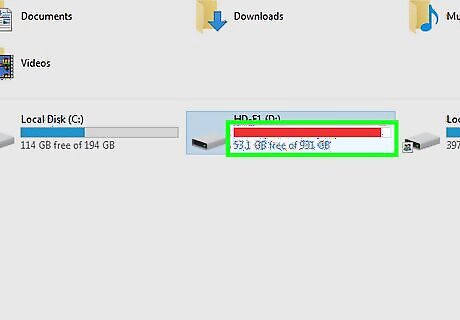
Check to see if the drive is full. You may get a write protection error if there is no more space on the drive on which you're trying to write. You can check this by selecting the drive in question in This PC (Windows) or Finder (Mac) and looking at the amount of space remaining on the drive.
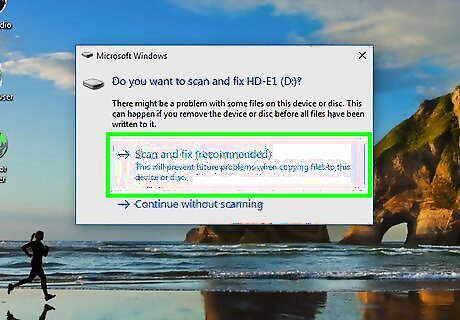
Scan your computer for viruses. A computer virus can change how your computer responds to removable storage items, or even render all of your USB items read-only. Running a virus scan should fix any virus-related problems that you're having.
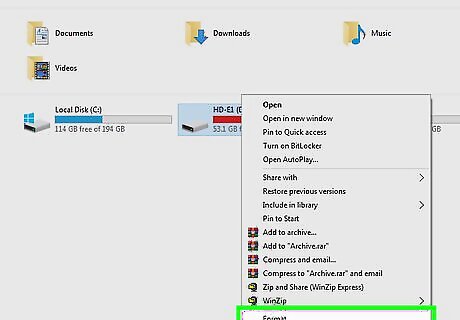
Format your flash drive or CD. Formatting erases the removable item's contents and changes the file system depending on your selected formatting options. Since formatting the item will reset it, formatting should be your last option.
Removing File Properties (Windows)

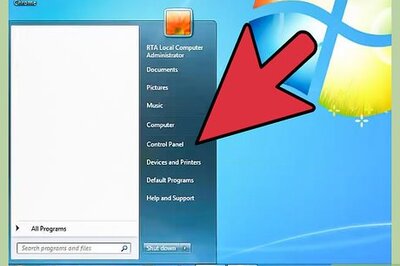
Open Start Windows Start. Click the Windows logo in the bottom-left corner of the screen. Use this if you can access each file individually and remove their "Read Only" status. If, however, you have a batch of files in a USB drive, use diskpart.
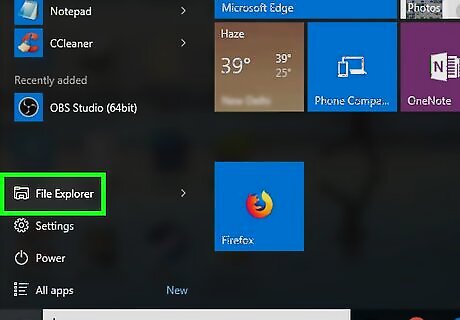
Open File Explorer Windows Start Explorer. Click the folder-shaped icon near the bottom-left side of the Start menu.
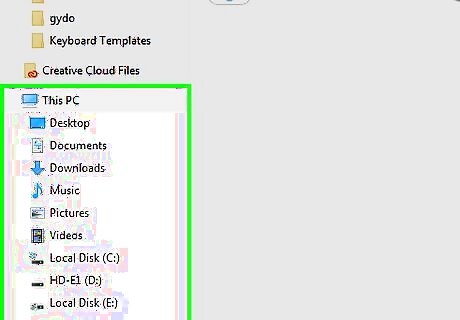
Go to the file's location. Click the folder in which the file is located on the left side of the File Explorer window. You may have to navigate through additional files after doing so to find the file.
Select the file. Click the file for which you want to disable write protection.
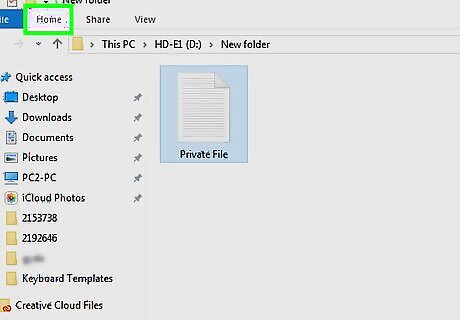
Click the Home menu item. It's in the upper-left corner of the window. A toolbar will appear at the top of the window.
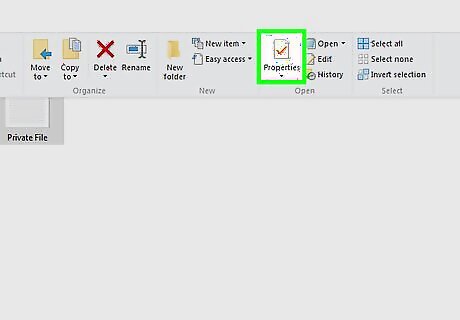
Click the "Properties" icon. This red checkmark is in the "Open" section of the toolbar. Doing so opens the "Properties" window.
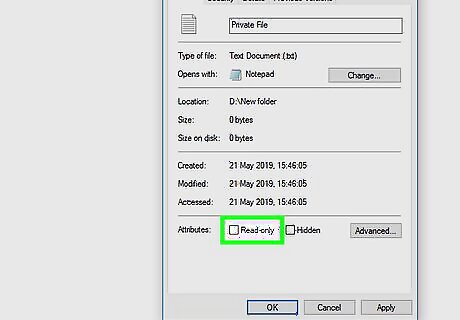
Uncheck the "Read-only" box. It's at the bottom of the Properties window. Tip: If you don't see this option, make sure that you're on the General tab of the Properties window.
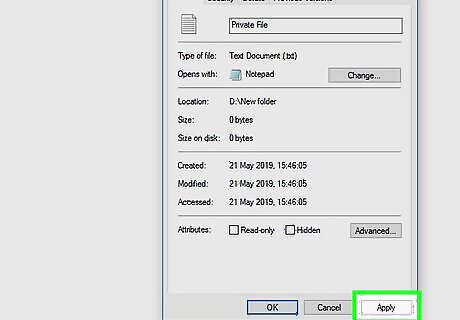
Click Apply, then click OK. Both options are at the bottom of the window. Doing so saves your changes to the file and closes the Properties window. You should now be able to edit your file.
Using Diskpart (Windows)

Press ⊞ Win+R. This keyboard shortcut launches the "Run" program so you can navigate to or start running programs quickly. Since editing Registry files can be daunting, use this method instead to remove the write protection on USB drives. If your USB flash drive isn't plugged into your computer already, connect it now.
Click Run.
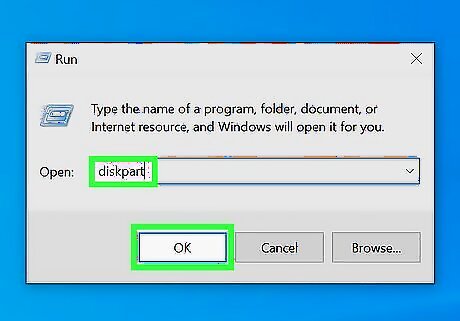
Enter diskpart and press OK. This opens a command prompt window with the diskpart command ready to use. Click Yes if prompted.
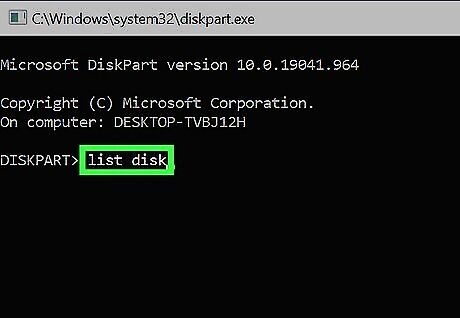
Enter list disk and press ↵ Enter. Doing this enters the command in command prompt. You'll see a list of connected USB devices. Find your USB flash drive to continue.
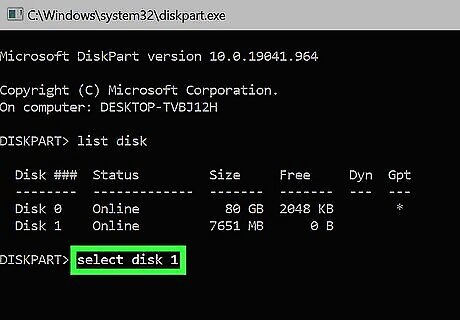
Enter select disk [number] and press ↵ Enter. Replace [number] with the digital number of your drive. For example, if Disk 1 is your USB flash drive, you'll enter select disk 1. After you enter the command, you'll see confirmation that the disk you included in the code is selected.
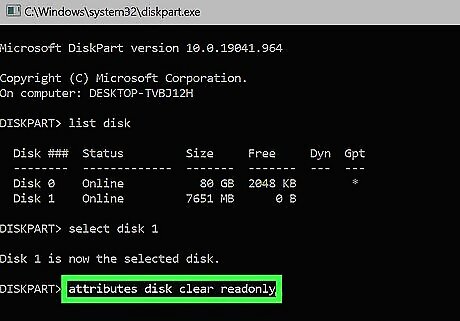
Enter attributes disk clear readonly and press ↵ Enter. You'll see a confirmation that the disk's read-only attribute has been cleared.
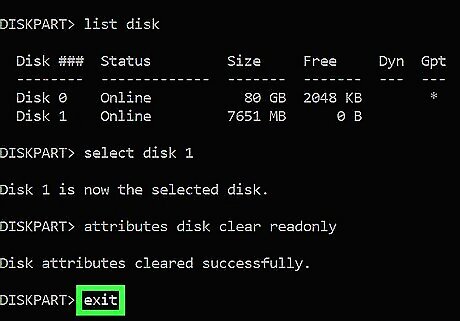
Enter exit and press ↵ Enter. Doing so will ensure that diskpart closes securely and that the changes are applied to your USB flash drive.
Editing the Registry (Windows)
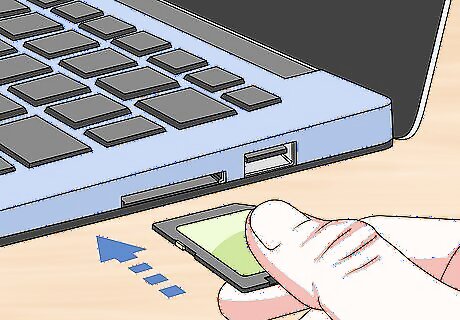
Make sure that your storage item is plugged in. Your USB flash drive, external drive, or SD card should be attached to your Windows computer before you proceed.
Open Start Windows Start. Click the Windows logo in the bottom-left corner of the screen.

Type regedit into Start. Doing so will search your computer for the Registry Editor command.
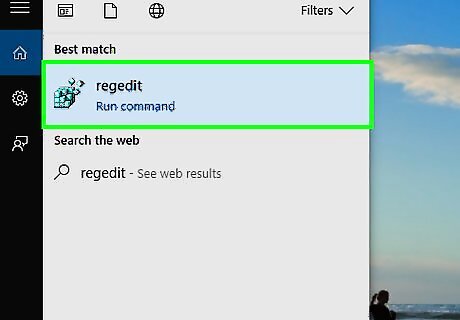
Click regedit. It's a series of blue blocks at the top of the Start window. The Registry Editor window will open.
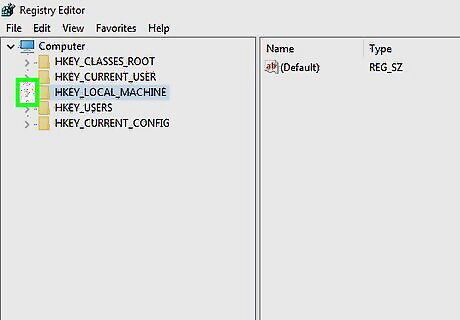
Expand the "HKEY_LOCAL_MACHINE" folder. Click the downward-facing arrow to the left of the "HKEY_LOCAL_MACHINE" folder that's in the upper-left corner of the window. Note: You may have to scroll up to the top of the pane on the left side of the window to find this folder.
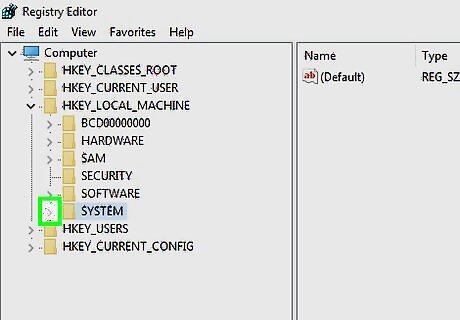
Expand the "SYSTEM" folder.
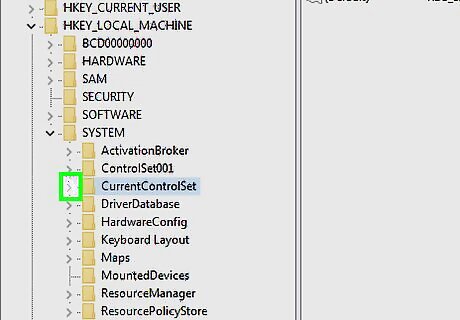
Expand the "CurrentControlSet" folder.
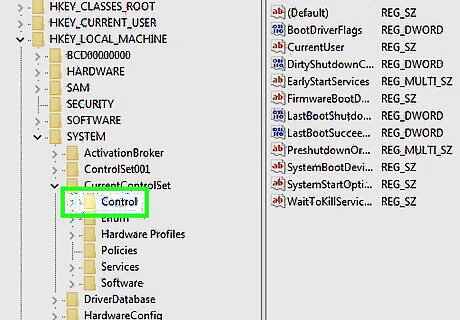
Select the "Control" folder. Click the folder to do so. If you already see a "StorageDevicePolicies" folder, skip the next few steps and only change the "WriteProtection" entry to "0".
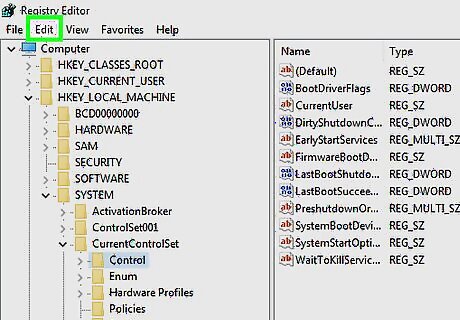
Click Edit. It's a tab at the top of the window. Clicking it prompts a drop-down menu.
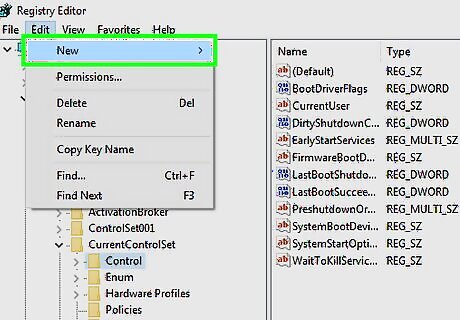
Select New. You'll find this option near the top of the Edit drop-down menu.

Click Key. It's at the top of the New pop-out menu. A new folder (also known as a "Key") will appear in the "Control" folder.
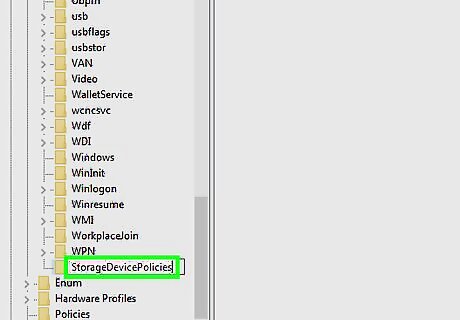
Change the key's name. Type in StorageDevicePolicies and press ↵ Enter.
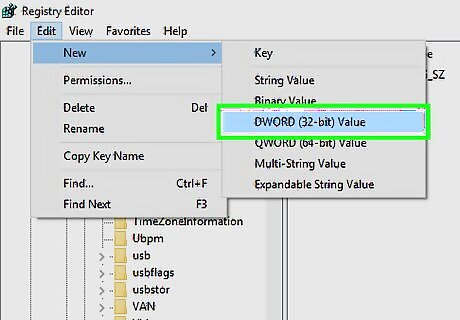
Create a new DWORD item inside of the key. To do so: Select the "StorageDevicePolicies" key that you just created. Click Edit Select New Click DWORD (32-bit) Value Type in WriteProtect and press ↵ Enter.
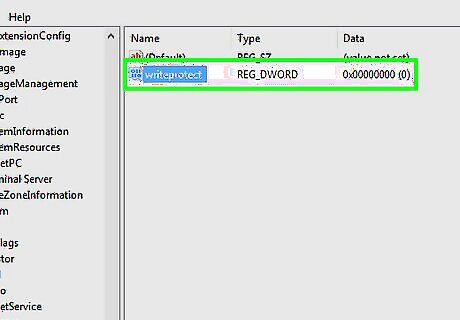
Open the DWORD value. Double-click it to do so. A new window will open.
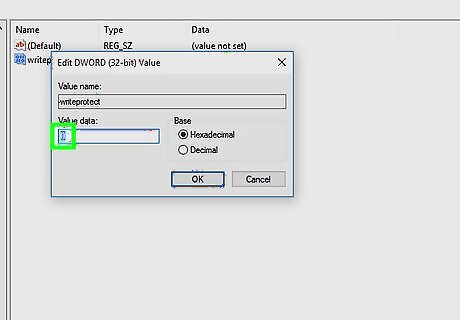
Change the "Value" number to zero. Select the number in the "Value" text field, then type in 0 to replace it.
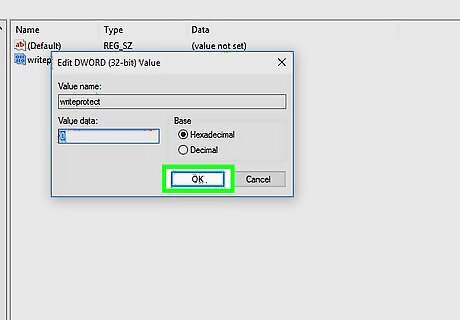
Click OK. Doing so should fix the read-only error that you're running into with your removable storage item. If your flash drive or CD still won't register as writable, you'll need to take it into a data recovery service to recover its data.
Changing File Properties (Mac)
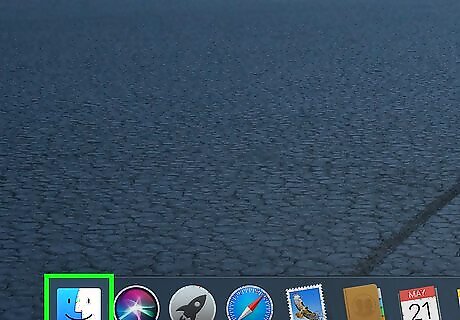
Open Finder. Click the blue, face-like icon in your Mac's Dock. A new window will open.
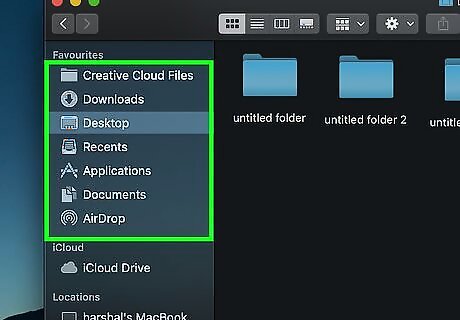
Go to the file's location. Click the folder that houses your file on the left side of the Finder window. You may have to navigate through additional folders after doing so to find the file.
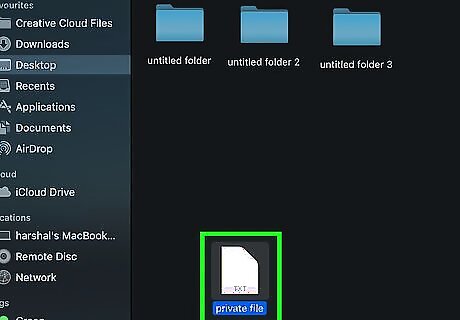
Select the file. Click the file to do so.
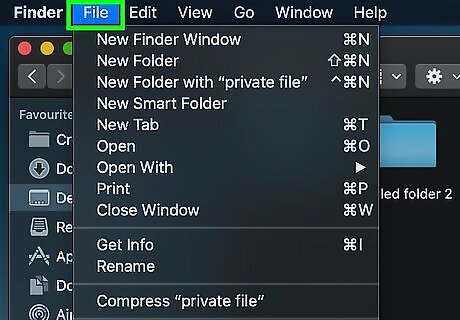
Click File. It's a menu item in the upper-left side of the screen. A drop-down menu will appear.
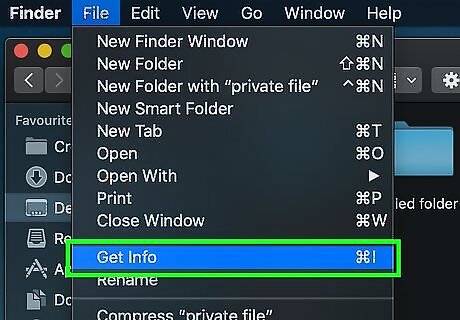
Click Get Info. This option is in the File drop-down menu. Doing so opens the selected file's "Get Info" window.
Unlock the Get Info menu. If the lock icon in the bottom-right corner of the window is closed, click it, then enter your administrator password.
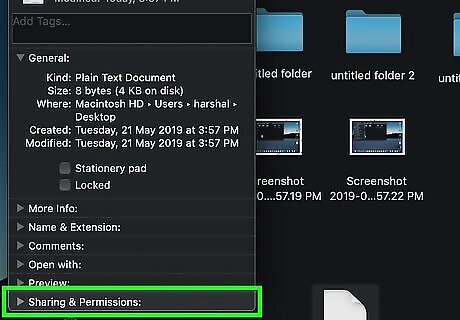
Click the Sharing & Permissions heading. It's near the bottom of the window. The Sharing & Permissions menu will expand to display additional options. Tip: If the Sharing & Permissions heading has usernames and "Read Only" options written below it, skip this step.

Find your username. Below the Sharing & Permissions heading, you should see the name that you use to log into your computer.
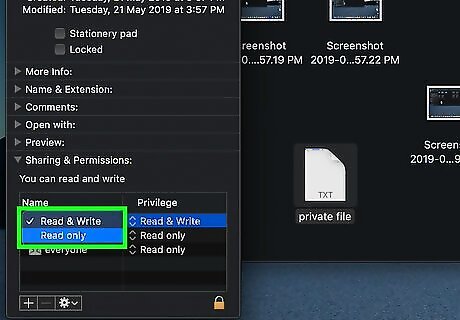
Change the file's permissions. Click the "Read Only" box to the right of your name until it says "Read & Write", then close the Get Info window. You should now be able to edit your file.
Using Disk Utility (Mac)
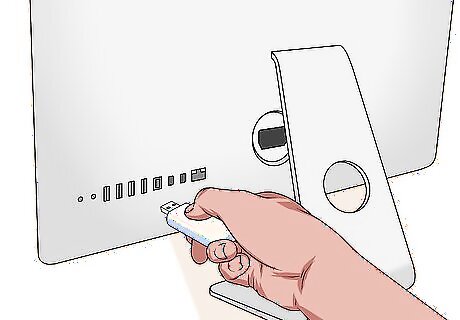
Make sure that your storage item is plugged in. Your USB flash drive, external drive, or SD card should be attached to your Mac before you proceed. If you're on a recent model of Mac, you may need to get an adapter that plugs into one of your Mac's USB-C ports for your removable item.
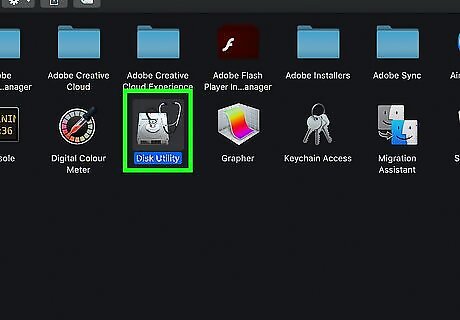
Open Disk Utility. Double-click the hard drive-shaped "Disk Utility" icon to do so. A new window will open. You can find this program in the Utilities folder of Applications in Finder.
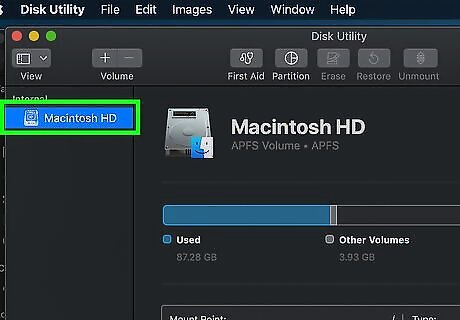
Select your storage item. Click your storage item's name in the upper-left side of the Disk Utility window.
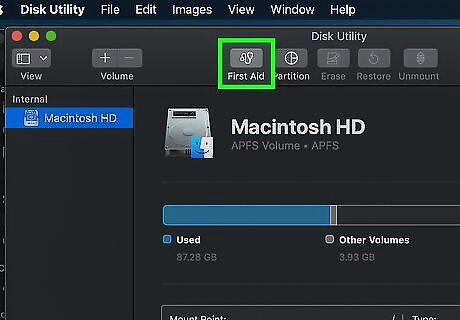
Click First Aid. This stethoscope-shaped tab is at the top of the Disk Utility window. Confirm this action by clicking Run when prompted.

Wait for your Mac to finish scanning. If the item's write protection is enabled because of an error on the item itself, the error will be resolved, and you'll be able to use the drive like usual. If the problem with the item is hardware-based, you'll need to take the drive into a data recovery service to attempt to save the item's contents.


Comments
0 comment